Deploying a website on a NixOS Raspberry Pi
, 1454 words, 8 minutes read
In a previous article, we created a static website using Zola and packaged it using Nix. Now it is time to deploy the fruit of our labor for the world to see!
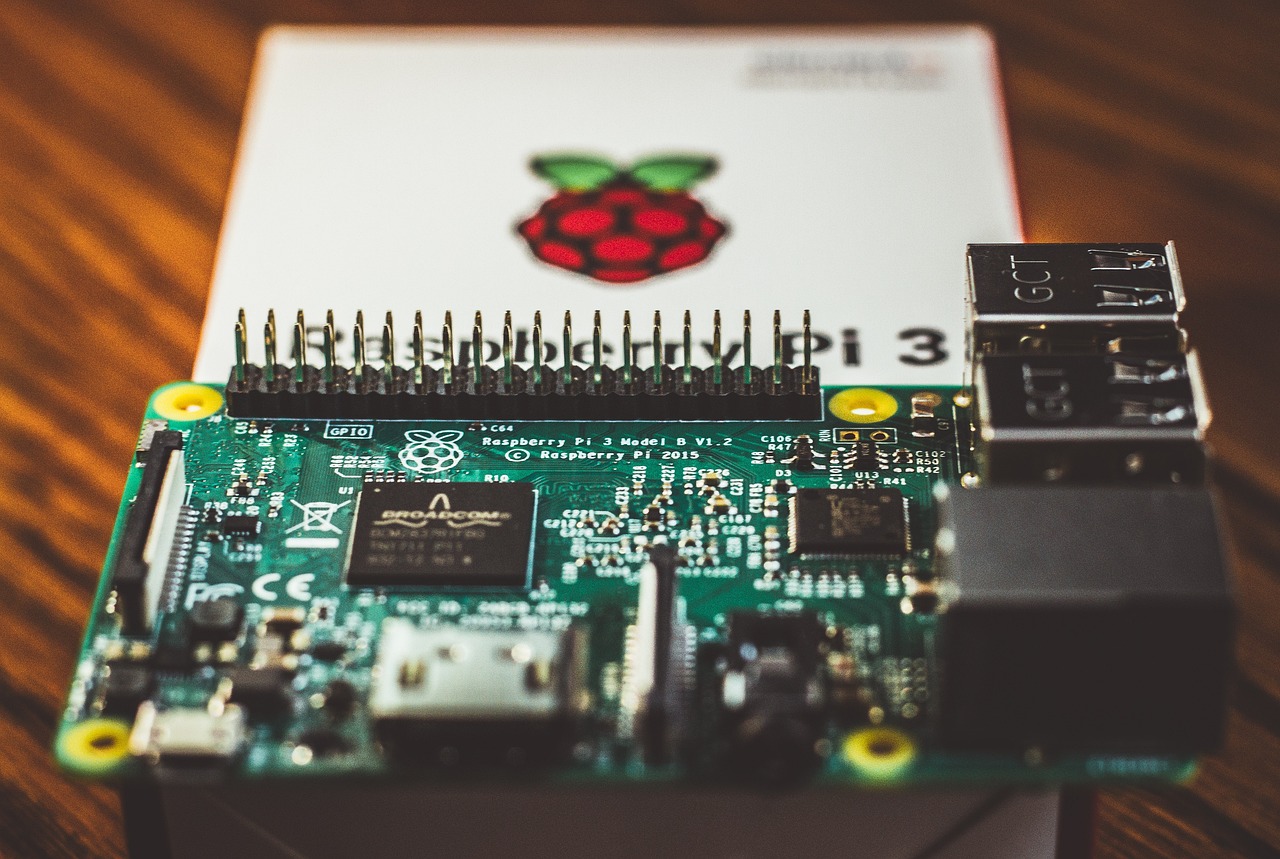
I will be using a spare Raspberry Pi 3+ I have lying around which should be plenty enough for our static website and use NixOS to deploy our website in minutes.
Preparing our computer
NixOS sometimes need to compile packages before they can be installed (e.g. our website), and our little berry doesn’t pack much of a punch. It would be nice if we could build our packages on an other computer with more processing power and just copy the result on the Pi…
Fortunately, NixOS support this! But there is a little quirk: Raspberry Pi run an ARM processor. If you are rocking an ARM processor on your other computer as well, you are in luck since this will be a pretty straight forward process, but if you use an x86_64 architecture like me - and most people out there - this isn’t gonna work since we will not be able to run our x86 package on an ARM system.
The solution: cross-compiling. By emulating an ARM system on our x86 machine, we are able to compile our packages for our Raspberry Pi. This will bring a little overhead but will still be faster than compiling on our Pi.
We can enable system emulation on our NixOS computer by adding the following to our configuration:
# computer/configuration.nix
{ ... }: {
  boot.binfmt.emulatedSystems = [ "aarch64-linux" ];
}
On other system, you will need to install
qemuwith itsarmvariant. The archlinux wiki can help you set this up.
Now we are good to go, let’s setup up NixOS on our Pi.
Installing NixOS on the Raspberry Pi
Writing a basic configuration
Let’s start by the bare minimum:
# rpi/configuration.nix
{ ... }: {
  sdImage.compressImage = false;
  system.stateVersion = "24.05"; # depends on the current NixOS version

  # Locale
  time.timeZone = "Europe/Paris"; # change me
  services.ntp.enable = true;
}
This configuration is already enough to build an SD image and boot our server! But for now it is pretty unusable…
Let’s configure the network so we are able to ping our server.
# rpi/configuration.nix
{ ... }: {
  networking = {
    defaultGateway = "X.X.X.X"; # change me;
    hostName = "oxygen"; # change me
    interfaces.eth0.ipv4.addresses = [{
      address = "X.X.X.X"; # change me
      prefixLength = 24;
    }];
    nameservers = [ "9.9.9.9" ];

    firewall = {
      enable = true;
    };
  };
}
Now we will be able to find our oxygen server on the network at the configured static IP. We also enabled the firewall for better security: only authorized connection will be able do come in or out of our server.
Setting up SSH access
We can locate the server on the network, but its doors are still locked. Let’s configure SSH so we can connect to it to make changes in the future.
First we create an SSH key on our main computer.
$ ssh-keygen -t ed25519 -C "email@example.org"
Then, we setup the ssh configuration for our server.
# rpi/configuration.nix
{ ... }: {
  # Users
  users.mutableUsers = false;
  users.users.root.openssh.authorizedKeys.keys = [
    "ssh-ed25519 XXXXXXXXXXXXXXXXXXXXXXXXXXXXXXXXXXXXXXXXXXXXXXXXXXXXXXXXXXXXXXXXXXXX user@home" # change me
  ];

  # Enable ssh
  systemd.services.sshd.wantedBy = lib.mkOverride 40 [ "multi-user.target" ];
  services.openssh = {
    enable = true;
    ports = [ 22 ];
    settings = {
      PermitRootLogin = "prohibit-password";
      PasswordAuthentication = false;
      KbdInteractiveAuthentication = false;
    };
  };

  # Networking
  networking.firewall.allowedTCPPorts = [ 22 ];
}
We setup several things here:
- First we setup the
authorizedKeysfor the root user. This must contain the public key that we generated earlier, - Then we setup the SSH service and we make sure it is started upon boot,
- Finally, we need to open the SSH port in our firewall so our server lets us communicate through it.
Note that using the root user to connect through ssh isn’t a good practice, and you should setup an other user for this purpose. I used the root user here for the sake of simplicity.
If your server is exposed to the public, you should use an other port than 22 to avoid being harassed by spiders.
Now we are all setup and we can deploy our Raspberry Pi.
Building the SD image
Raspberry Pis don’t use bootable USB sticks for installation. Instead, we need to copy the OS pre-installed on the SD card so it can straight up boot from it.
This is where NixOS shines: we can create a preconfigured SD image with all our settings from the get go. How about that!
First we register our new NixOSConfiguration to our flake.nix:
# flake.nix
{
  outputs = { self, nixpkgs, ... }: {
    nixosConfigurations = {
      oxygen = nixpkgs.lib.nixosSystem {
        system = "aarch64-linux";
        modules = [
          "${nixpkgs}/nixos/modules/installer/sd-card/sd-image-aarch64.nix"
          ./rpi/configuration.nix
        ];
      };
    };
  };
}
Here are the important thing to take note of:
- We setup the
systemattribute so nix is aware that this configuration is to be compile foraarch64-linuxsystems, - We give as a module the
rpi/configuration.nixwe wrote in the section above, - And we also add the
${nixpkgs}/nixos/modules/installer/sd-card/sd-image-aarch64.nixmodule, that tells nix how to build an SD image for our Pi.
Now we can build the SD image with:
$ nix build .#nixosConfigurations.oxygen.config.system.build.sdImage
Since this is way to long of a path to remember (and I’m lazy), let’s help future me.
# flake.nix
{
  outputs = { self, ... }: {
    images.oxygen = self.nixosConfigurations.oxygen.config.system.build.sdImage;
  };
}
Now we can build our SD image only by running:
nix build .#images.oxygen
Much better!
After building is complete, the SD image can be found in ./result/sd-image/nixos*-aarch64-linux.img
Burning the SD card
Now that our image is ready, we need to burn it to our SD card.
After inserting the SD card in our computer and locating it (e.g. using lsblk), we simply run:
$ sudo dd if=./result/sd-image/nixos*-aarch64-linux.img of=/dev/sdX bs=4096 conv=fsync status=progress
When this has finished, we put the SD card in the Raspberry Pi and power it up. We are now able to SSH into our server!
Our server is now ready to host our website.
Deploying our website
Initializing the nginx service
# services/nginx.nix
{ ... }: {
  services.nginx = {
    enable = true;
    enableReload = true;
    clientMaxBodySize = "40M";
    recommendedGzipSettings = true;
    recommendedOptimisation = true;
    recommendedProxySettings = true;
  };
  networking.firewall.allowedTCPPorts = [ 80 443 ];
}
Here we enable the nginx service and setup some base settings. We also open port 80 and 443 to enable HTTP and HTTPS traffic through our firewall.
Settings the allowed ports can be left even if your server doesn’t have firewall enabled. This statement will then have no effect.
Setting up our website
# services/websites/thewinterdev-fr.nix
{ config, inputs, ... }: let
  domain = "thewinterdev.fr";
in {
  imports = [
    ../nginx.nix
  ];

  services.nginx.virtualHosts.${domain} = {
    serverAliases = [ "www.${domain}" ];

    root ="${inputs.thewinterdev-website.packages.${config.nixpkgs.system}.default}/www/public";

    extraConfig = ''
      error_page 404 /404.html;
    '';
  };
}
In the imports list, we tell nix that our website needs the nginx service that we set up earlier. We then create a virtual host for our website.
You can see that we use the inputs.thewinterdev-website as root. That points to the derivation we created in a previous article.
For our website package to be available, we need to add it to the flake inputs:
# flake.nix
{
  inputs = {
    thewinterdev-website.url = "github:Jeosas/thewinterdev.fr";
  };
}
We then need to make inputs available to our NixOS configuration:
# flake.nix
{
  outputs = { self, ... }@inputs: {
    nixosConfigurations = {
      oxygen = nixpkgs.lib.nixosSystem {
          specialArgs = { inherit inputs; };
      };
    };
  };
}
Finally, we add our website module to the Raspberry Pi configuration.
# rpi/configuration.nix
{ ... }: {
  imports = [
    ../services/websites/thewinterdev-fr.nix
  ];
}
Our website is now available through HTTP! But for better security, HTTPS would be better… let’s set it up.
Getting certificates for our domain
NixOS support setting up Let’s Encrypt certificates out of the box with ACME challenges.
First we setup ACME for certificates creation and auto-renewal:
# services/nginx.nix
{ ... }: {
  # Let's encrypt
  ## /var/lib/acme/.challenges must be writable by the ACME user
  ## and readable by the Nginx user.
  users.users.nginx.extraGroups = [ "acme" ];
  security.acme = {
    acceptTerms = true;
    defaults.email = "certs@example.com"; # change me
  };
}
And then we setup the certificate for our virtual host:
# services/websites/thewinterdev-fr.nix
{ ... }: let
  domain = "thewinterdev.fr";
in
{
  services.nginx.virtualHosts.${domain} = {
    enableACME = true;
    forceSSL = true;
  };
}
The forceSSL sets up a redirection for HTTP request to HTTPS to ensure all our traffic uses a secure connection.
Sending our new configuration to the Pi
All that is left is to apply our new configuration to our server. Even though creating new SD images is very useful in case our SD card malfunctions at some point, it is rather unpractical to flash our SD card every time we need to update the configuration, not mentioning the downtime.
Fortunately, we can update the configuration through SSH. What we are going to do is build the server configuration on our computer, copy the resulting packages to the server and then activate the new configuration on the server (with a downtime of only seconds).
To do so, all we need to do is run the following command:
$ # replace the host by the server's IP
$ nixos-rebuild switch --flake .#oxygen --target-host=root@X.X.X.X
You need your SSH keys to be correctly setup for the command to run, but this is beyond the scope of this article. If you need help, look for how to configure SSH using the
~/.ssh/configfile.
If you are using an non-Nixos distro, you will not have
nixoxs-rebuildin your PATH. Either:
- use it through
nix-shell -p nixos-rebuild,- read the next section.
At this point our website is up and running using HTTPS encrypted traffic.
Bonus: Setting up deploy-rs
I started using deploy-rs from Serokell for its simplicity for local deployments. In the future I’d like to look into NixOps 2.0 as its supports local deployments as well and is more main stream, but harder to setup because of the not ideal documentation.
Installing deploy-rs using a devShell
# flake.nix
{
  outputs = { self, nixpkgs, ... }: let
    system = "x86_64-linux";
    pkgs = nixpkgs-unstable.legacyPackages.${system};
  in {
    devShells.${system} = {
      default = self.devShells.${system}.deploy;
      deploy  = pkgs.mkShell {
        name = "deploy";
        packages = [ pkgs.deploy-rs ];
      };
    };
  };
}
We create a devShell with deploy-rs installed, and make it default for convenience. We can then enter the devShell:
$ nix develop
Set up our deployment
# flake.nix
{
  inputs = {
    deploy-rs.url = "github:serokell/deploy-rs";
  };
  outputs = { self, deploy-rs, ... }: {
    deploy = {
      nodes = {
        oxygen = {
          hostname = "X.X.X.X"; # change me
          profiles = {
            system = {
              sshUser = "root";
              path = deploy-rs.lib.aarch64-linux.activate.nixos self.nixosConfigurations.oxygen;
            };
          };
        };
      };
    };
  };
}
We add a deploy key containing our oxygen server. We type in its hostname (IP or name in your ssh config) and setup the system profile with the sshUser along with the path to the related NixOS configuration.
Deploy
This is the easy part:
$ deploy
Yes, that’s it. This command will deploy all the configuration that you specified in the deploy section of your flake file.
Conclusion
In this article, we setup our computer to deploy on foreign architecture using cross-compiling in order to create a Raspberry Pi server using NixOS. We then configured a simple website with HTTPS support and deployed it to our Raspberry Pi using SSH.